
A clean kitchen is essential for maintaining a hygienic and healthy environment in your home. When it comes to cleaning, kitchen appliances are often overlooked, even though they are frequently used and can harbor dirt, grime, and bacteria. A deep clean of these appliances not only helps to ensure a sanitary space, but also provides peace of mind knowing that your kitchen is truly spotless.
Deep cleaning your kitchen appliances can be a simple and efficient process when approached methodically. By regularly scheduling thorough cleanings, you extend the life of your appliances and keep your kitchen running smoothly. In this article, we will discuss various methods and tips for deep cleaning common kitchen appliances, ensuring a pristine and well-maintained space for you and your family.
From the refrigerator to the oven, each appliance requires different cleaning techniques and care. It is important to understand the nuances of each in order to maintain their efficiency and functionality. With these guidelines in mind, you can confidently tackle the task of deep cleaning your kitchen appliances, resulting in a cleaner and more hygienic space for all.
Preparation and Safety Tips for Deep Cleaning
Gathering Cleaning Supplies
Before beginning the deep cleaning process, it is essential to gather all the necessary cleaning supplies. This will help ensure a smooth and efficient process. Here is a list of items that you might need:
- Soap: Mild dish soap is a versatile cleaner, suitable for many surfaces.
- Cleaners: Specific appliance cleaners, such as oven or refrigerator cleaners, can be useful for tougher stains or specific needs.
- Sponge: A non-abrasive sponge will help in scrubbing surfaces without causing damage.
- Microfiber cloths: They are great for drying and polishing surfaces after cleaning.
- Baking soda and vinegar: These natural cleaning agents can be very effective in removing dirt and stains.
- Warm, soapy water: A simple solution that can be used for general cleaning and rinsing.
| Cleaning Supplies | Use |
|---|---|
| Soap | General cleaning of surfaces and appliance exteriors |
| Cleaners | Specific appliance needs and tougher stains |
| Sponge | Scrubbing surfaces without damage |
| Microfiber cloths | Drying and polishing surfaces |
| Baking soda | Removing stains and odors |
| Vinegar | Deodorizing and removing grease |
Protective Gear and Safety Measures
When deep cleaning kitchen appliances, it is vital to protect yourself and maintain a safe environment. Here are some safety precautions to keep in mind:
- Gloves: Wear gloves to protect your hands from harsh chemicals, especially when using cleaners like bleach.
- Ventilation: Ensure proper ventilation to avoid inhaling fumes from cleaning substances. Open windows or doors, if possible.
- Electrical safety: Unplug appliances before cleaning to prevent the risk of electrical shocks.
- Dilution: Some cleaning agents, such as bleach, need to be diluted according to the instructions on the label. This will help prevent damage to surfaces and reduce risks to your health.
- Follow manufacturer instructions: Always read and follow instructions provided by the appliance manufacturer when using cleaners or other cleaning tools. This will help reduce the risk of damaging your appliances or voiding any warranties.
By following these preparation and safety tips, you can ensure an efficient and safe deep cleaning process for your kitchen appliances.
Deep Cleaning Kitchen Appliances
How to Clean a Refrigerator
To effectively clean a refrigerator, begin by unplugging it and removing all items, including drawers and shelves. Make a mixture of equal parts warm water and white vinegar to create a non-toxic and effective cleaner.
- Wipe down the interior walls and shelves using a soft cloth soaked in the cleaning solution.
- Be sure to clean all corners, crannies, and crevices where bacteria and grime tend to collect.
- Rinse the fridge interior with a damp cloth.
For stainless steel exteriors, use a specially formulated cleaner or gentle dish soap to wash it down.
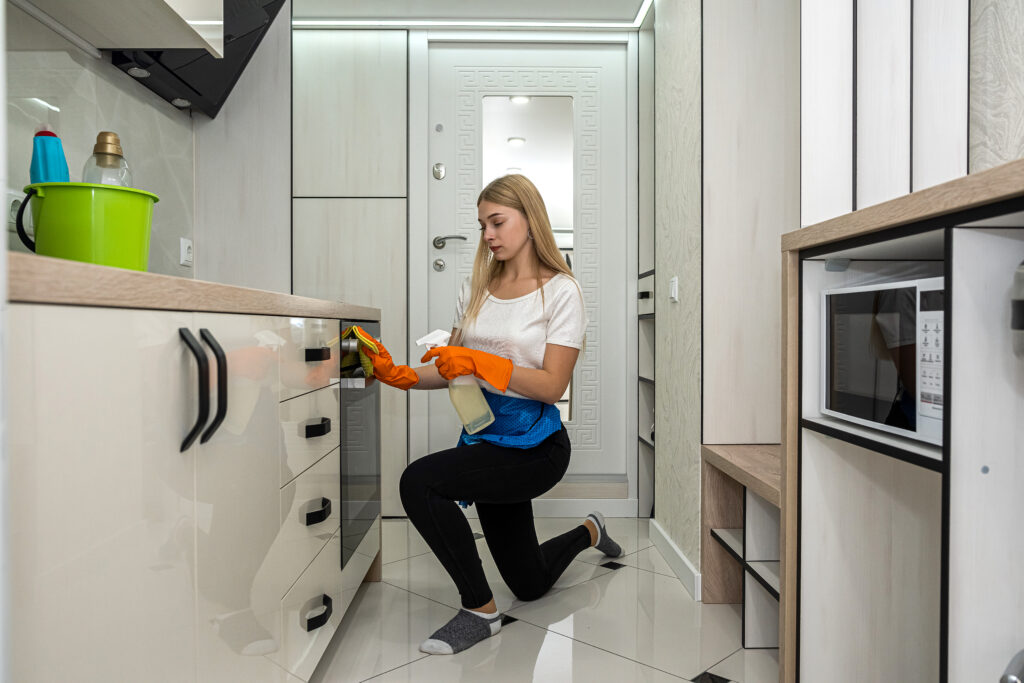
How to Clean an Oven
Preparation is key when cleaning an oven. Begin by removing the racks and, if needed, the oven door. Here are the steps for cleaning an oven:
- Make a paste using baking soda and water.
- Apply the paste to the oven interior, avoiding the heating elements.
- Allow the mixture to sit for at least 6 hours, or overnight if possible.
After this time, follow these steps for deep cleaning:
- Use a plastic scraper to remove the loosened dirt and grime.
- Use a damp cloth to wipe down the oven, rinsing frequently.
- If required, use an oven cleaner for stubborn grease and stains.
- Don’t forget to clean the stovetop, using an appropriate cleaner if it’s a stainless steel surface.
How to Clean a Dishwasher
To ensure your dishwasher is free of soap scum, food debris, and grease, follow these steps:
- Check and clean the dishwasher filter and spray arms.
- Place a dishwasher-safe cup filled with white vinegar in the top rack and run a hot water cycle. This helps disinfect the dishwasher and remove stains.
- Next, sprinkle baking soda on the bottom of the dishwasher and run a short, hot cycle. This helps remove any remaining residue.
How to Clean a Microwave
Microwave cleaning can be made simple by following these steps:
- Combine 1 part water and 1 part white vinegar in a microwave-safe bowl.
- Place the bowl in the microwave and run on high for 5 minutes.
- Carefully remove the bowl using oven mitts, as it will be hot.
- Immediately wipe down the interior of the microwave with a damp cloth, removing any loosened food particles and spills.
How to Clean a Coffee Maker
To keep your coffee maker running efficiently and free of bacteria, follow these cleaning steps:
- Fill the water reservoir with equal parts white vinegar and water.
- Begin a brew cycle and pause it halfway, allowing the solution to sit for 30 minutes.
- Resume the brew cycle and allow it to finish.
- Run several cycles using only water to flush out any vinegar remnants.
- Finally, wipe down the exterior and clean any removable components as per the manufacturer’s instructions.
Cleaning the Kitchen Space
Refreshing Surfaces and Counters
To refresh surfaces and countertops, begin by decluttering and removing all items from the area. Use a damp microfiber cloth to wipe down the surfaces, removing any crumbs and debris. For stubborn stains, apply a small amount of soap or a cleaning solution, and gently scrub the area until the stain is gone. Rinse the cloth and continue to wipe down the area until all residue is removed. Regular maintenance will help keep surfaces clean and free from buildup.
Tackling Floors and Baseboards
Clean kitchen floors and baseboards by first sweeping or vacuuming any loose dirt and debris. Depending on the type of flooring, choose the appropriate method for deep cleaning.
For hardwood or laminate floors: Use a damp microfiber mop, making sure not to soak the floor. Follow the grain of the wood, and use a gentle cleaner specifically designed for these types of floors.
For tile or linoleum floors: Mix warm water with a mild soap or a cleaner specifically designed for these floor types. Use a mop or a microfiber cloth to clean the area.
For baseboards: Use a damp cloth to wipe down the baseboards, making sure to complete the entire length of the kitchen.
Organizing Cabinets and Drawers
To organize cabinets and drawers, begin by emptying each shelf or drawer completely. Wipe down the shelves and drawer interiors with a damp cloth, removing any buildup or debris.
Next, evaluate the contents and consider the following tips for organization:
- Use dividers or trays to separate utensils, cookware, and other kitchen tools.
- Utilize clear containers or bins to store and organize food items.
- Place frequently used items in easily accessible locations.
- Consider using vertical storage solutions like hanging racks or pegboards.
Once the shelves and drawer interiors are clean, and you’ve sorted your items, place them back in the cabinets and drawers according to your chosen organization method. Maintaining an organized kitchen will make preparing meals and cleaning much easier and efficient.